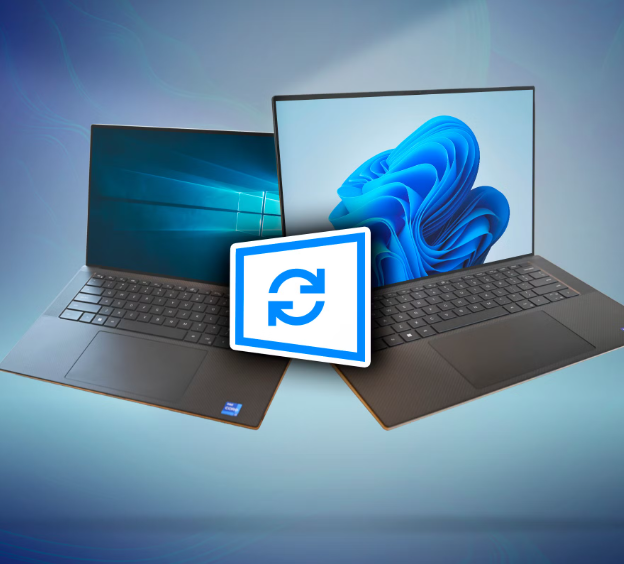
A Step-by-Step Guide to Upgrading from Windows 10 to Windows 11
Upgrading to a new version of Windows can offer significant improvements in terms of performance, security, and user experience. With the arrival of Windows 11, many users are looking to make the switch. In this guide, we’ll walk you through the process of upgrading from Windows 10 to Windows 11 to ensure that you get the most out of this exciting new version of the operating system.
Why Should You Upgrade to Windows 11?
Windows 11 comes with a variety of features designed to enhance your overall computing experience:
-
Faster Performance: Windows 11 has been optimized for speed, making your system run more efficiently.
-
Improved Security: With the latest security features, Windows 11 helps protect your data from potential threats.
-
New Features: A redesigned interface, improved multitasking, and enhanced virtual desktop support are just a few of the new features that will help boost your productivity.
Steps to Upgrade to Windows 11
Upgrading to Windows 11 is relatively straightforward. Here’s how you can do it:
Step 1: Back Up Your Important Data
Before beginning any upgrade, it’s crucial to back up your important files to prevent potential data loss. You can use an external hard drive or cloud storage services such as OneDrive to securely back up your data.
To back up to OneDrive:
-
Open OneDrive and sign in to your account.
-
Simply drag and drop the files you want to back up into your OneDrive folder, or use the sync feature for automatic backups.
Step 2: Make Sure Your Windows 10 System Is Up to Date
To avoid any complications during the upgrade, ensure that your Windows 10 system is fully updated.
-
Press Windows + I to open the Settings app.
-
Navigate to Update & Security.
-
Click Check for updates and install any updates that are available.
Step 3: Download and Install Windows 11
Once your system is up to date, you’re ready to install Windows 11.
-
Press Windows + I to open the Settings app again.
-
Go to Update & Security and click Windows Update.
-
Click Check for updates. If your device is compatible with Windows 11, you’ll see an option to download and install it.
-
Click on Download and install, and follow the on-screen instructions to complete the installation process.
Step 4: Set Up Windows 11
After the installation process is complete, follow the on-screen prompts to finalize the setup of your new Windows 11 system. This may include signing in with your Microsoft account and restoring the files you backed up earlier.
Final Thoughts
Upgrading to Windows 11 brings a host of benefits, from improved speed and security to a more modern interface. By following the steps outlined above, you can enjoy all the new features and improvements that Windows 11 has to offer. If you run into any issues or need assistance, don’t hesitate to reach out for support.